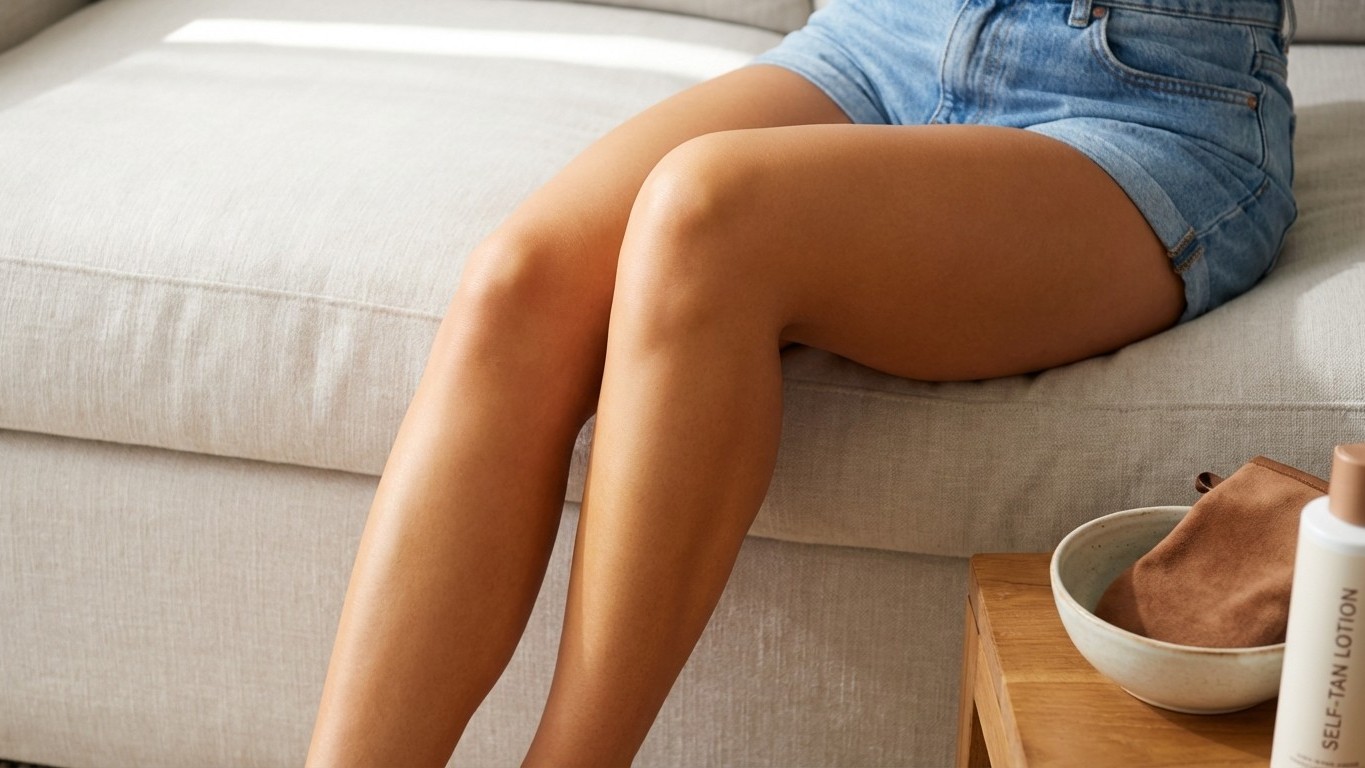
The mirror doesn’t lie — and neither do those telltale orange patches that seem magnetically drawn to my kneecaps every single time I attempt a flawless self-tan. For years, I chalked it up to the inevitable sacrifice of at-home bronzing. Patchy knees were simply the price of avoiding spray tan booths and their questionable ventilation.
Then a conversation with a professional makeup artist changed everything. “You’re treating your knees like the rest of your leg,” she said, watching me slather tanning mousse with reckless abandon. “But knee skin is completely different — thicker, drier, more absorbent. It’s basically a sponge for pigment.”
Key takeaways
- A makeup artist revealed why knee skin behaves completely differently than the rest of your leg when applying self-tanner
- The professional solution isn’t exfoliation or moisturizing — it’s one unexpected technique spray tan artists have used for years
- One simple two-minute prep step can transform your entire at-home self-tanning routine from patchy disaster to flawless results
The Anatomy of a Tanning Disaster
Knee skin operates under different rules than the smooth expanses of your thighs or calves. The constant bending, kneeling, and friction creates a surface that’s rougher and more porous — Actually-look”>Exactly the conditions that make self-tanner cling unevenly. Most of us approach our entire leg with the same technique, but knees demand special treatment.
The revelation came down to one simple prep step that I’d been completely ignoring. Not exfoliation — though that matters too. Not moisturizing — also important, but not the game-changer. The secret weapon? Dilution.
Professional spray tan technicians have known this for years, but somehow the knowledge never trickled down to those of us bronzing in our bathrooms. Before applying any self-tanner to knees, elbows, or ankles, they mix the product with a small amount of unscented body lotion — creating a lighter, more manageable formula that won’t grab onto textured skin like paint on sandpaper.
The Two-Minute Technique That Changes Everything
Here’s the method that transformed my self-tanning game: I squeeze a small amount of my regular self-tanner onto my palm, then add an equal amount of lightweight, fragrance-free moisturizer. The mixture should look noticeably lighter than the original product — that’s exactly what you want.
This diluted version gets applied first to problem areas: knees, elbows, ankles, and the tops of feet. These zones get their custom blend, while the rest of my legs receive the full-strength formula. The result? Seamless color gradation that looks naturally sun-kissed rather than artificially orange.
The technique works because you’re essentially pre-treating the most absorbent areas with a gentler concentration. Think of it like priming a wall before painting — you’re creating the right foundation for even color distribution.
Timing matters too. I apply the diluted mixture to knees and other textured areas, then immediately blend outward while the product is still workable. No waiting, no second-guessing. The key is working quickly but deliberately, ensuring smooth transitions between the diluted and full-strength zones.
Beyond the Basic Technique
Once I mastered dilution, other professional tricks started making sense. The direction of application matters more than I’d realized — always work in circular motions on knees, following the natural contours rather than fighting against them. And those awkward back-of-knee areas? They need the lightest touch possible, barely any product at all.
Professional tanning mitts suddenly became non-negotiable too. Your hands, no matter how carefully you wash them, will never achieve the even distribution that a quality mitt provides. The slightly textured surface grabs just enough product while preventing the streaking that bare hands inevitably create.
Temperature plays a role that Most People Overlook entirely. Cooler skin holds tanning products more evenly than warm skin, which means that post-shower application — when your bathroom is still steamy and your skin is heated — sets you up for patchy results. I learned to wait at least fifteen Minutes after showering, letting my skin return to room temperature before beginning the tanning process.
The Bigger Picture of Flawless Self-Tanning
Discovering the dilution trick opened my eyes to how much technique matters in self-tanning. It’s not just about buying the most expensive product or following the basic instructions on the bottle. Professional-level results require understanding how different areas of your body behave and adapting your approach accordingly.
The confidence that comes with mastering this technique extends beyond just having evenly bronzed knees — though that’s certainly satisfying. There’s something empowering about cracking the code on a beauty routine that once felt frustratingly unpredictable. Each successful application builds on the last, creating a skill set that makes self-tanning feel less like gambling and more like genuine self-care.
These days, I find myself studying the work of professional spray tan artists with new appreciation. Their techniques aren’t magic — they’re learnable skills based on understanding skin anatomy and product behavior. The dilution method was just the beginning of completely rethinking my approach to at-home tanning.
What other beauty “disasters” might actually be technique problems in disguise, waiting for someone to share the professional secret that changes everything?