
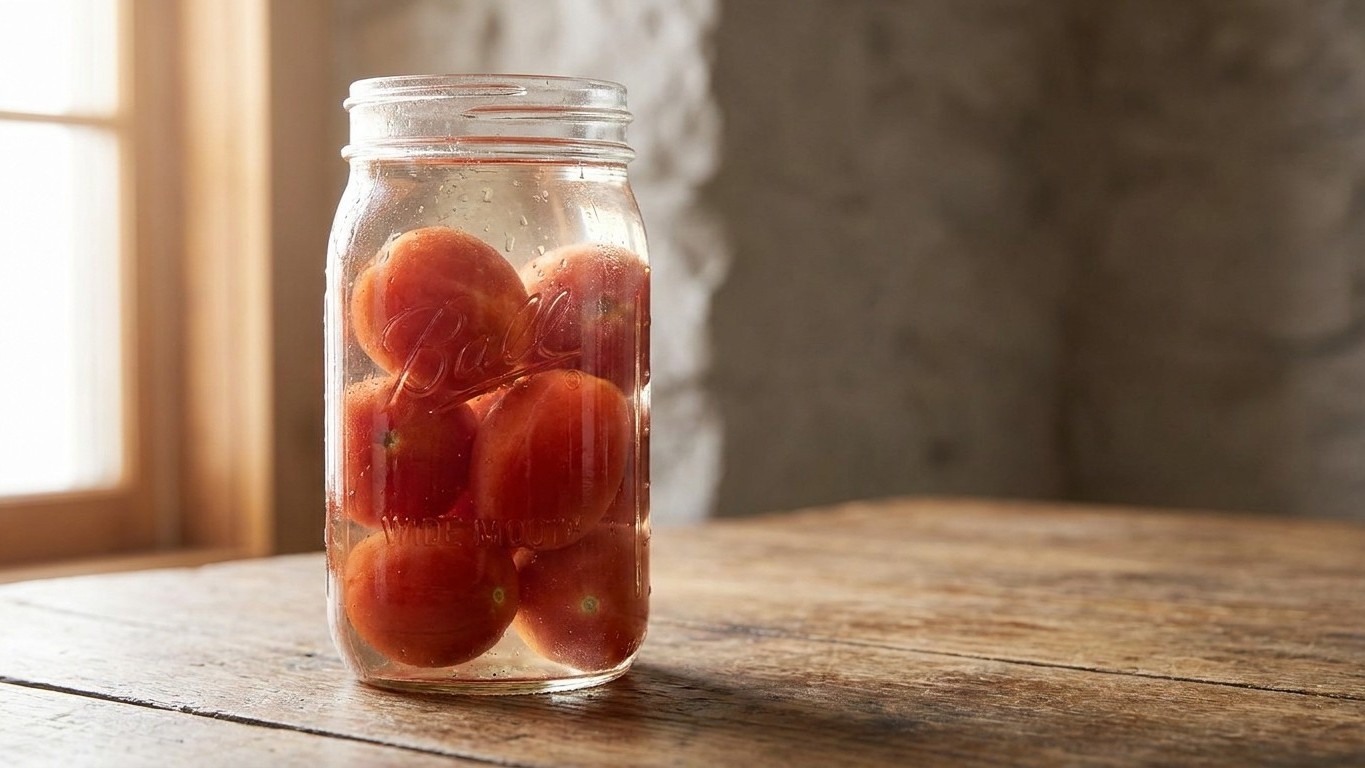
Three baskets of Romas sit on the counter, skins splitting from the heat, juice pooling under the cutting board. This is the moment every backyard gardener hits by late summer: too many tomatoes, not enough time, and a nagging fear of doing it wrong. Canning tomatoes is one of the few home-preservation projects where a mistake isn’t just a ruined batch. Get the acid balance or the processing time wrong, and you’re flirting with botulism. Get it right, and you’ve got a pantry of summer that lasts through February.
Tomatoes sit in an awkward spot on the acidity scale. Most fruit is acidic enough to can safely in a boiling water bath alone. Most vegetables aren’t, and need a pressure canner. Tomatoes hover right at the edge, with a pH that can drift close to 4.6 depending on the variety, the ripeness, even the weather that season. Heirlooms and low-acid varieties (Roma types can lean this way) sometimes test even higher. That’s why the USDA’s National Center for Home Food Preservation insists on adding acid to every jar, no exceptions, no matter how tart your tomatoes taste on the tongue.
Key takeaways
- Why fresh lemon juice will fail you, but bottled lemon juice won’t
- The jar sterilizing rule that doesn’t actually apply to tomato canning
- How altitude silently sabotages your processing time calculations
Why bottled lemon juice, not the fresh kind
Here’s the part that surprises most people: fresh lemon juice is banned from this recipe. Not because it’s less effective, but because its acidity is inconsistent from lemon to lemon. Bottled lemon juice is standardized, always around 5% acidity, which means the math stays predictable. Add 2 tablespoons of bottled lemon juice per quart jar, or 1 tablespoon per pint, before you pack in the tomatoes. Citric acid works too, at a quarter teaspoon per quart. Skip vinegar unless you enjoy the taste of pickled tomatoes, because it changes the flavor more than lemon juice does.
Add the acid to the empty jar first, then pack your tomatoes on top. That way it distributes through the jar as you fill it, instead of sitting stranded at the bottom. This single step is non-negotiable, whether you’re doing a raw pack (cold tomatoes into the jar, then covered in hot liquid) or a hot pack (tomatoes simmered briefly first). It’s the acid, not the boiling water alone, that makes tomato canning safe at atmospheric pressure.
The jar sterilizing method, and the one shortcut that’s actually approved
Most home canners assume every jar needs a separate ten-minute boil before it ever sees a tomato. That’s not quite true, and it’s one of those rules that gets repeated without anyone questioning it. According to the National Center for Home Food Preservation, jars only need pre-sterilizing if your final processing time in the water bath will run under 10 minutes. Since tomato processing times almost always run well past that mark, the boiling water bath itself does the sterilizing work. You still need clean, hot jars, just not a separate sterilization cycle.
Wash jars in hot, soapy water, then keep them warm in a low oven or sitting in simmering water until you’re ready to fill them. Cold jars packed with hot tomatoes can crack, so temperature matching Matters More Than sterilizing here. Lids are a separate story: modern two-piece lids don’t need boiling either, just a rinse in warm water, according to updated manufacturer guidance. That “boiling pot of lids” scene from your grandmother’s kitchen isn’t required anymore, even if it still feels like the traditional move.
Timing the water bath correctly
Processing time depends on jar size and whether you’re working with a raw pack or a hot pack, and getting this wrong in either direction causes problems. Under-process, and you risk spoilage or worse. Over-process, and you end up with mushy, colorless tomatoes that taste like the inside of the can they were trying to avoid.
For whole or halved tomatoes packed in their own juice or water, hot-packed pint jars generally need around 40 minutes in a boiling water bath, with quarts closer to 45. Raw-packed jars run longer, often near 85 minutes for both pints and quarts, since the tomatoes start cold and take more time to reach a safe internal temperature throughout the jar. These numbers assume you’re at an altitude below 1,000 feet. Above that, add processing time in increments, since water boils at a lower temperature as elevation climbs, and the USDA’s altitude adjustment charts spell out exactly how much extra time each elevation band requires.
Start your timer only once the water is at a full rolling boil with jars fully submerged under at least an inch of water. Keep the boil steady the entire time, don’t just bring it up once and let it simmer down, and resist the urge to remove jars early even if they look done. The clock resets if the boil interrupts. Full details, including exact altitude tables and options for crushed or juiced tomatoes, are available through the National Center for Home Food Preservation, which remains the most reliable free resource for home canners in the United States.
One detail that trips up even experienced canners: headspace matters as much as timing. Leave a half-inch of space at the top of the jar for whole or crushed tomatoes, since the acid you’ve added plus the tomatoes’ own liquid will expand slightly during processing. Too little headspace and jars can fail to seal properly, even after a perfect boiling time. Too much, and the seal can weaken from trapped air. After the water bath, let jars sit undisturbed for a full 12 hours before checking seals, pressing the center of each lid to make sure it doesn’t flex. Any jar that didn’t seal goes straight into the refrigerator, eaten within a week, not back into the canner for a second try.