
Fifty-five degrees Celsius. That’s the ceiling professional chocolatiers won’t cross when melting dark couverture, and it’s roughly 30 degrees cooler than a rolling boil. Cross that line, or let steam sneak into the bowl, and the glossy shell you were counting on turns dull, streaky, or worse, grainy beyond saving.
Couverture isn’t regular baking chocolate. It carries a higher percentage of cocoa butter, usually around 30-40%, which is exactly why it behaves so differently under heat. That extra fat is both the reason pastry chefs reach for it and the reason it punishes sloppy technique so quickly.
Key takeaways
- Most home cooks melt chocolate way too hot—but the difference between boiling and simmering is everything
- One hidden enemy that turns silky chocolate grainy in seconds, and why thermometers aren’t optional
- The seeding technique professionals use to skip waiting around and guarantee that perfect snap every time
Why the Boiling Pan Is the Enemy
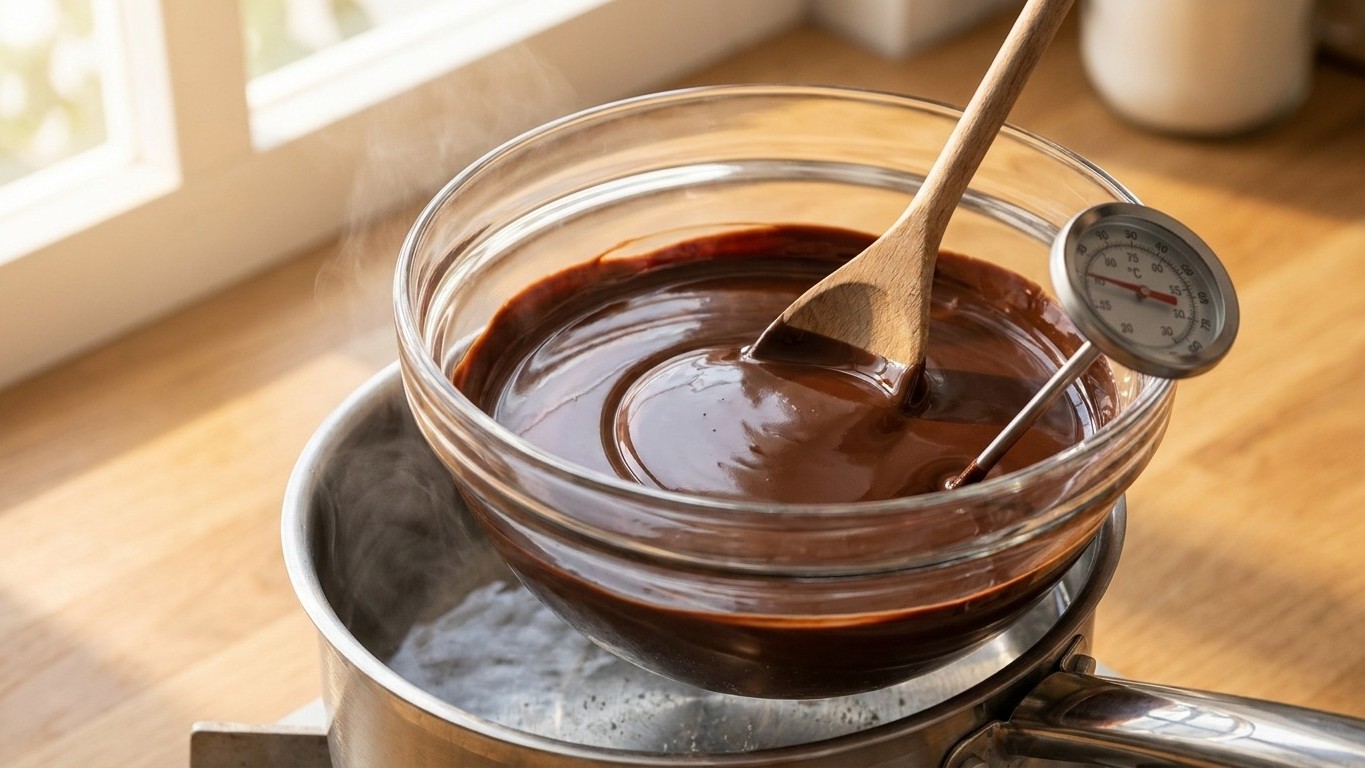
Here’s the instinct every home cook has to unlearn: more heat, faster melt. With couverture, that logic backfires almost instantly. Break chocolate into small pieces, and place in top pan of double boiler over hot, but not boiling, water. The distinction matters more than it sounds. A rolling boil throws off steam, and steam is water in its most sneaky form, drifting upward and landing on chocolate you thought was protected.
Once that happens, the sugar particles in the chocolate clump together instead of staying suspended in the fat, and the whole batch turns from silky to sandy in seconds. Chocolate seizing occurs when your once smooth and creamy chocolate transforms into a thick, clumpy state during the melting process, and this unfortunate incident can occur due to two main reasons: overheating or unwanted contact with moisture. The frustrating part? There’s often no fix. If water gets into your chocolate and it seizes, there’s no reliable way to fix it, and the best option is to start over with fresh chocolate.
A warm bowl causes a quieter version of the same disaster. Not from moisture this time, but from residual heat that keeps climbing after you’ve pulled the chocolate off the stove. Even a bowl that feels merely lukewarm to the touch can push cocoa butter past the threshold where its crystals stay stable, and once that happens no amount of stirring brings back the shine.
The Number That Actually Matters
Professional kitchens work off a curve, not a single temperature. Chocolate has to climb, then drop, then climb again, and each chocolate type has its own bracket.
For dark couverture, dark chocolate should be melted between 120 and 130°F (50°C and 55°C), then brought down before being nudged back up to a working temperature. That final working zone is where the magic actually lives: the ideal temperature range for dark chocolate should be around 88°F to 90°F (31°C to 32°C) and for milk or white chocolate around 84°F to 86°F (29°C to 30°C). Milk and white couverture melt at gentler heat to begin with, since milk and white chocolate should melt at around 105-115°F (40-45°C), their higher milk-solid content making them far more sensitive to scorching.
White chocolate deserves its own warning label here. It contains no cocoa solids at all, just cocoa butter, milk solids, and sugar, which makes it the most fragile of the three to work with under direct heat. A few careless seconds in a too-hot bowl, and it goes from glossy to grainy faster than dark chocolate ever would.
The Technique Chefs Actually Use
The classic bain-marie remains the most forgiving setup, provided the water stays at a bare simmer rather than a boil, and the bowl never touches the surface. Place two-thirds of the chocolate in a bowl and melt over a bain-marie of gently simmering water, keeping the bottom of the bowl from touching the water because the chocolate will get too hot and shine can be lost as a result. That gap between bowl and water isn’t decorative. It’s the buffer that keeps steam from creeping in and heat from spiking.
A reliable thermometer isn’t optional gear here, it’s the whole method. You must have a thermometer that can reach 130°F (55°C), which is essential as you will need to check the chocolate’s temperature throughout the process to make sure its temperature is changing as it is supposed to. Eyeballing couverture is a gamble most professionals stopped taking years ago, since the visual cues (glossy versus dull) show up only after the crystal structure has already gone wrong.
Seeding solves the second half of the puzzle, the cooling stage. Instead of waiting for warm chocolate to drop in temperature on its own, chefs stir in small chunks of already-tempered chocolate, which carry stable cocoa butter crystals that essentially teach the melted batch how to set correctly. Adding the remaining one-third of chopped chocolate as seeds to the melted chocolate and stirring gently until the seeds are completely melted works because the cocoa butter crystals in the seeds will encourage the formation of stable crystals in the entire batch. It’s a faster, more controlled route than waiting around for a marble slab to do the same job.
The tabletop method, favored in old-school ateliers, achieves the same result through pure mechanics rather than added seed chocolate. Pour melted chocolate onto a marble surface, cool it by spreading, and return it to the bowl. Marble’s dense, cool surface pulls heat out of the chocolate rapidly and evenly, something a glass bowl simply can’t replicate at the same speed.
Whichever method you land on, the test at the finish line is delightfully low-tech. Dip the tip of a spatula in the chocolate and set it aside for a couple of minutes. Temper was achieved if after a few minutes the chocolate was hard, glossy, smooth, and lacked streaks. No thermometer required for that last check, just patience and a clean spatula, proof that even the most technical process in a pastry kitchen still ends with something you can judge by eye.
Sources : blessedbeyondcrazy.com | cordonbleu.edu