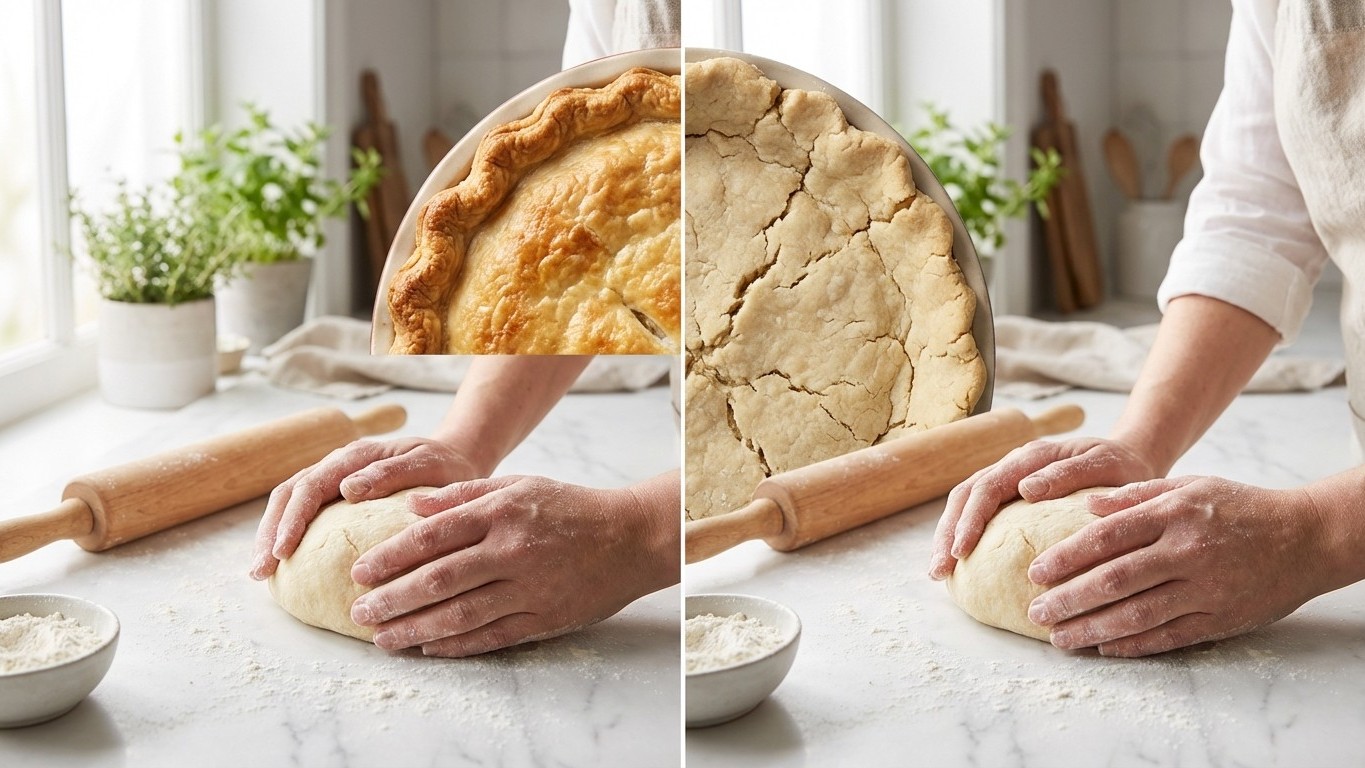
You’ve measured every ingredient to the gram, followed the recipe religiously, and yet your pie crust emerges from the oven looking like a geological disaster—tough as leather in some spots, crumbling to dust in Others. Sound familiar? You’re not alone in this pastry predicament, and the culprit isn’t your measuring skills or your recipe choice. The real villain is far more subtle: It’s the invisible dance of gluten development that happens the moment flour meets water.
The frustrating truth is that pie crust success hinges on understanding what recipes can’t tell you—the feel, the temperature, the humidity of your kitchen, and most importantly, the delicate balance Between creating just enough structure to hold your pie together Without developing so much gluten that you end up with something resembling cardboard. This molecular tightrope walk is what separates stunning, flaky crusts from the disappointing disasters that make home bakers want to throw in the rolling pin.
The Gluten Trap That Recipes Don’t Warn You About
When flour proteins encounter water, they immediately begin forming gluten networks—long, elastic chains that give bread its chewy texture. In bread, this is exactly what you want. In pie crust, it’s your nemesis. The moment you add water to your flour and fat mixture, you’re essentially racing against time and chemistry. Every additional second of mixing, every extra drop of water, every degree of warmth Storage-solution-that-could-transform”>in Your kitchen pushes your dough further Down the path toward toughness.
Most recipes tell you to “mix until just combined,” but they don’t explain what “just combined” actually looks like or feels like. It’s not the smooth, homogeneous dough you might expect. Instead, successful pie dough often looks shaggy, with visible pieces of fat and patches of dry flour. Your instinct might scream that it needs more mixing, more water, more work—but that instinct is leading you astray. The magic happens during the resting period, when the flour fully hydrates and the fat begins to create those coveted flaky layers.
Temperature plays an equally crucial role in this gluten development drama. Warm ingredients accelerate gluten formation, which explains why pie crusts made on hot summer days often turn out tougher than those made in cool kitchens. The fat in your dough—whether butter, shortening, or lard—Should remain solid throughout the mixing process. When it melts, it loses its ability to create the steam pockets that generate flakiness, and instead gets absorbed into the flour, creating a dense, heavy texture.
The Hydration Mystery that makes or Breaks Your Crust
Here’s where most home bakers make their critical error: they trust the liquid measurements in recipes without considering the variables that affect hydration. Flour absorbs moisture differently depending on its age, the humidity in your storage area, and even the weather on the day you’re baking. That tablespoon of ice water that worked perfectly last Winter might be too much on a humid August afternoon.
The key is learning to read your dough rather than blindly following measurements. Properly hydrated pie dough should hold together when gently pressed but still look somewhat rough and uneven. If you can press a small portion together with your fingers and it holds its shape without cracking extensively, you’re in the right zone. If it crumbles completely, you need a touch more water—but add it one teaspoon at a time, not one tablespoon.
Professional bakers often use the “squeeze test”: grab a small handful of the flour-fat mixture after adding your initial water amount. If it holds together when squeezed but breaks apart when poked, it’s ready. If it feels wet or sticky, you’ve added too much liquid and will likely end up with a tough crust. The texture should remind you of coarse breadcrumbs that can be pressed together, not smooth cookie dough.
The Resting Revolution: Why Patience Creates Perfect Pastry
Even if you nail the mixing and hydration, skipping or shortening the resting period will sabotage your efforts. During the chill time in your refrigerator, several critical processes occur that transform your rough, barely-holding-together mixture into workable dough. The flour fully absorbs the liquid, eliminating dry spots that would create weak points in your finished crust. The gluten that did develop relaxes, Making the dough easier to roll and less likely to shrink during baking.
Most importantly, the fat firms up again, ensuring it will create distinct layers rather than melting into the flour matrix. This is why pie dough that seems impossible to work with initially becomes smooth and pliable after proper chilling. Rushing this process—or worse, Trying to roll out warm dough—virtually guarantees a tough, uneven crust.
The ideal resting period is at least one hour, but Overnight is even better. Wrap your dough tightly in plastic wrap to prevent it from drying out, and resist the urge to check on it frequently. When you’re ready to roll, the dough should yield slightly to pressure but still feel cool and firm. If it’s rock-hard from the refrigerator, let it sit at room temperature for 10-15 Minutes-daily-since-age-50-what-her-cardiologist-discovered-after-one-year”>Minutes until it’s workable but not warm.
Mastering the Roll: Technique That Transforms Everything”>Everything-this-winter”>Everything-for-fabric-sofa-stains”>Everything-for-perfect-crepe”>Everything
Your rolling technique can either preserve all your careful preparation or undo it in Minutes. The goal is to extend the dough without overworking it, maintaining those precious fat layers that create flakiness. Roll from the center outward in different directions, rotating the dough frequently to prevent sticking and ensure even thickness. If the dough starts to feel warm or sticky under your rolling pin, return it to the refrigerator immediately.
Using enough flour on your surface is crucial, but too much can throw off your dough’s hydration balance. A light dusting that prevents sticking without creating clouds of flour is ideal. Professional bakers often use a pastry cloth or silicone mat, which provides just enough texture to prevent sticking without requiring excessive flour.
The transformation from kitchen disaster to pastry perfection isn’t about finding a better recipe—it’s about understanding the science behind the process and learning to read the subtle cues your dough provides. Once you master the delicate balance of minimal mixing, proper hydration, adequate resting, and gentle rolling, you’ll wonder why you ever struggled with pie crust. The Secret was never in the measurements; it was in the technique all along.